Overview
At SimplyDelphs we are always striving to raise high quality delphiniums from seed. And to achieve this we have our very own breeding programme with the aim of producing plants in broad colour groups that embody the traits of a good delphinium –
- come reliably true to colour from a given cross
- produce elegant blooms
- have strong stems to support the flowers
- are healthy and disease free
Growing From Seed
Growing from seed couldn’t be easier and is definitely the cheapest way to get a group of delphiniums established.
Before you start
Most important is to start with the highest quality seed you can avoiding the Pacific Giant strain at all costs – see the section on history for why. Delphinium seed also has a short viability i.e. it goes off quickly – unless stored in fridge.
One of the best sources of seed is the Delphinium Society website –
https://delphinium-society.co.uk/store
Here is how I grown my plants from seed, raising several hundred plants a year. I live in the southern part of the UK – you’ll need to adjust timings to suit your climate.
Sowing
I sow seed from the middle of February to the middle of March. Grown well these seedlings will flower in the August and September of the same year.
I use a good quality seed compost which I mix two parts compost to one part perlite. I also like to sterilise it first by mixing with water and baking in the oven – maybe a little over the top for most!
I sow thinly into sterile plastic pots – say 20 seeds to a 9cm or 40 in an 11cm. I then cover with vermiculite and stand in a tray of water. They won’t need watering again until they start to germinate – again, always water from below by standing in a tray to avoid damping off of your seedlings. Germination takes 10 to 14 days – mostly…. I did a germination trial on the seeds I gave to the Society. Most germinated by 14 days. One or two varieties such seeds from ‘Michael Ayres’ took a lot longer – a month or so. One or two seeds continued germinating even after 3 months. So, the moral is to keep the compost even after you have pricked out your first batch.
The picture below was taken a month after sown and they are at the ideal stage for pricking out. Speaking of which…

Pricking out.
Most people leave this way too late. Ideally, I would prick out once the cotyledons have swelled and maybe you can just see the first leave emerging – just like in the photo above. Later than this and you are potting up rather than pricking out as the little plants will have developed a large root system – just like in the picture below. They’ll be fine though – just suffering a larger check in their development. I prick out into 7cm square pots and plant out from these. There’s not much point in going for anything larger than 9cm.
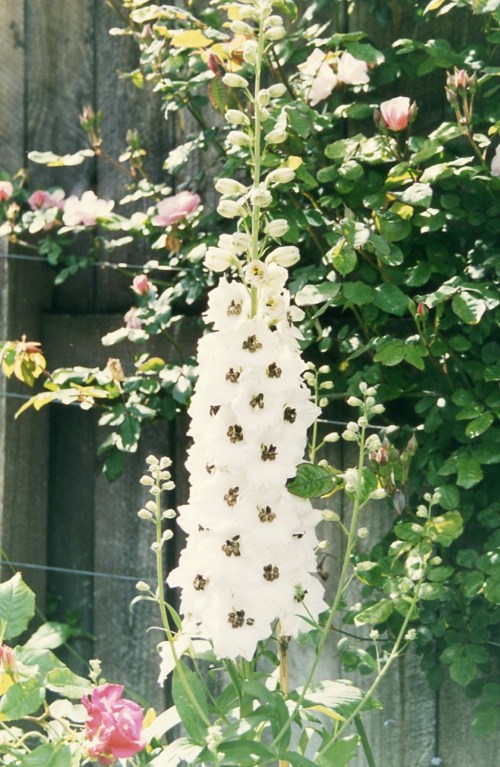
Planting out
Once the little plants have a good rootball and strong foliage they can be planted out into well prepared ground. I plant quite closely with 20cm or so between plants. I used to plant at 30cm – just space is tighter now! So there you go – in another 3 or 4 months you will enjoy a flower on each plant. In future years three or more. What’s not to like! This picture was taken in the autumn from a spring sowing.